Blender Origin - Moving Objects Origin
The origin of most objects is the middle but it is sometime easier to work with an object if the origin is a corner. This tutorial shows you how you can easily move the origin of an object.
Start a new project and you should see the default cube object.
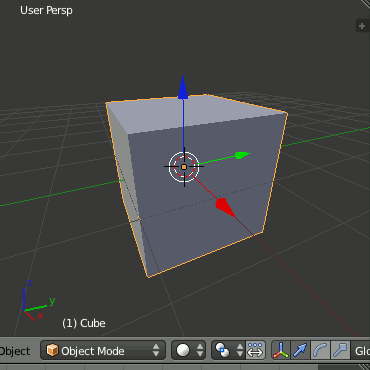
Select 'Edit Mode'
Right mouse click on a corner point
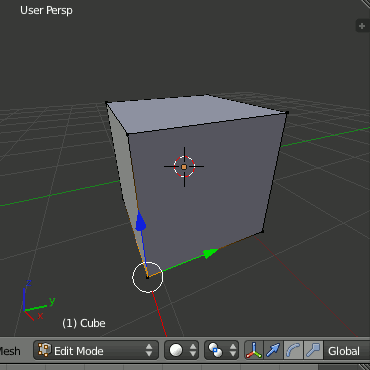
Using the 'Mesh' menu select 'Snap' and then 'Cursor to Selected'
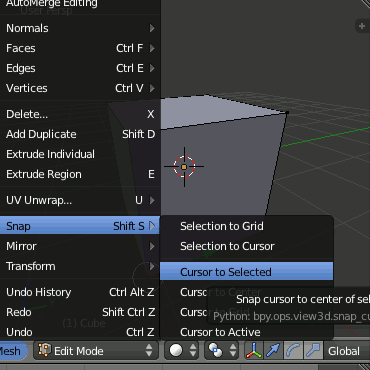
This will move the 3D cursor to the point you have just selected.
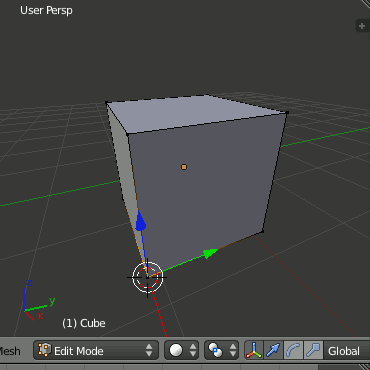
Select 'Object Mode'.
Using the 'Object' menu select 'Transform' and then 'Origin to 3D Cursor'.
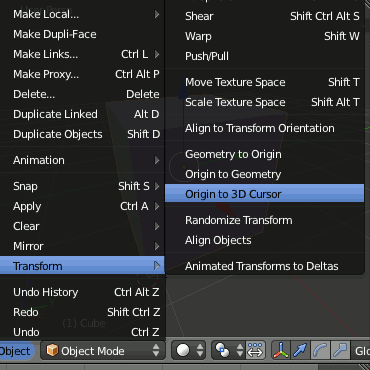
The origin has now moved to the bottom corner of the cube.
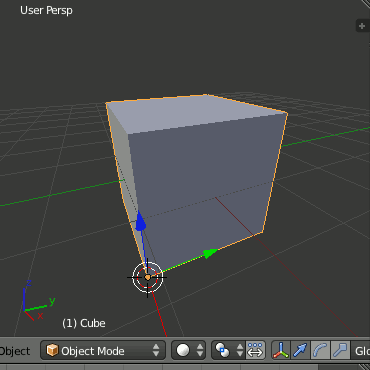
I find this much easier to work with as I can set the Z position of the cube to 0 and it will actually sit on the 'floor' rather than being half above and half below. STacking objects is much easier as you can work out positions based on the height of the object not half the height plus half the height of another object.


